
Long gone are the days of heated up tins of sausages and beans on a tiny camp stove. We invested in our Cadac Safari Chef 2 BBQ a few summers ago. We had no idea how adventurous our camp cooking would become! Recently we bought a pizza stone for the BBQ, and the whole family get involved in making artisan pizza. Last weekend, while spending time in our Norfolk-based touring caravan, we made pizza. This is how we did it.
Ingredients
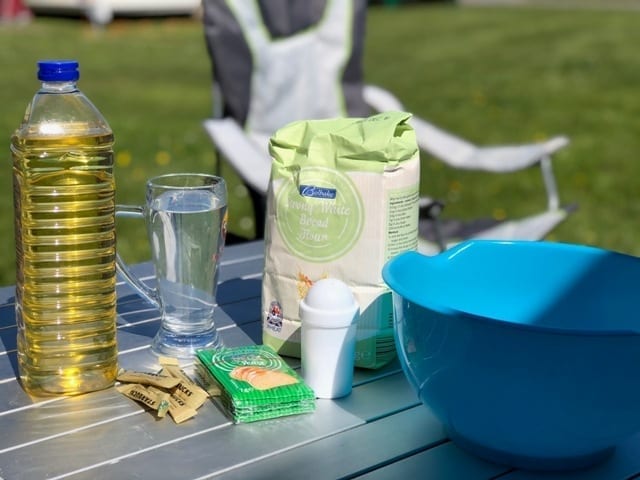
For the dough: You need bread flour, a sachet of yeast, 4-5 sticks of sugar, good pinch of salt, small glug of oil, warm water. Semolina to stop the pizza sticking to the paddle.
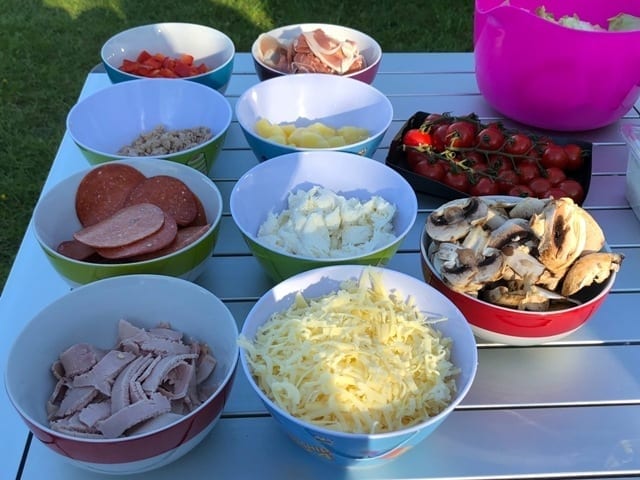
Toppings: A carton of passata, some dried herbs, grated cheddar, mozzarella, pepperoni, tuna, ham, mushrooms, pineapple, pepper, onion … whatever you like on your pizza!
Making the Dough
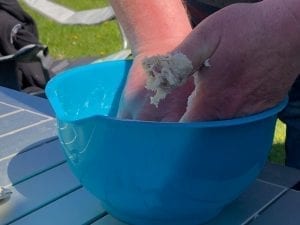
Pour around 2 mugs of bread flour into a bowl. On top of this add one sachet of dried yeast, the sticks of sugar, and salt. Pour two small glugs of oil on top and initially stir with a spoon. Slowly add the warm water – in total about 3/4 pint. Once all mixed, it is time to get your hands in to really mix it together. It is wise to dust your hands with flour before mixing to stop getting your hands caked in sticky dough … of course we forgot to do this!
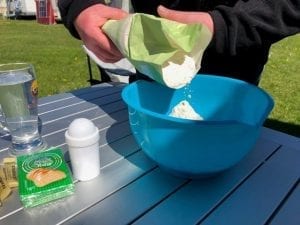
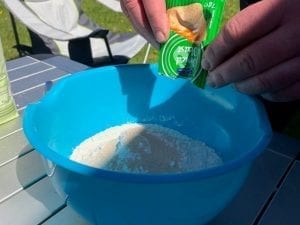
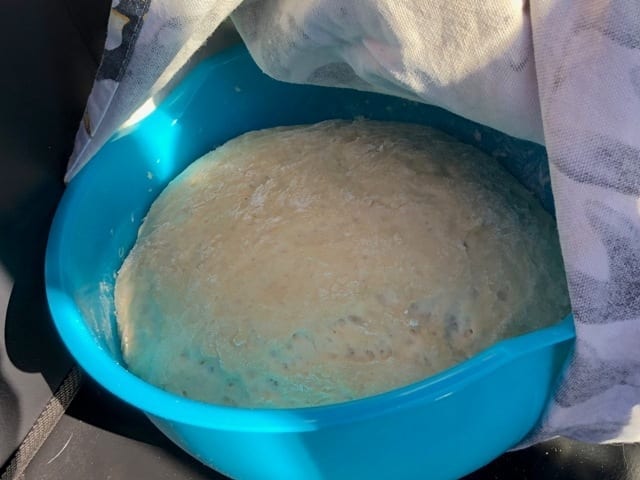
Once all blended, and with the dough resembling a ball, dust lightly with some more flour, cover with a cloth and put in a warm place for a couple of hours. The warmest place at the weekend was the front seat of my car!

After a couple of hours, the dough should have doubled in size. As soon as you touch it, it will knock back, but trust us, there’s enough to make 9-10 pizzas. Once the dough is ready, it’s time to cook!
Making the Pizza
While the dough is rising, we always get the children to start preparing the toppings – slicing onions/peppers/mushrooms, shredding mozzarella, grating cheddar. Once this is done, turn on the BBQ to start heating up the pizza stone. Make up the tomato base sauce – simply mix the passata with some herbs – add a squirt of tomato sauce if you want it a bit thicker.
Lightly dust a surface with flour and pull a golf-ball sized piece of dough from the main ball.
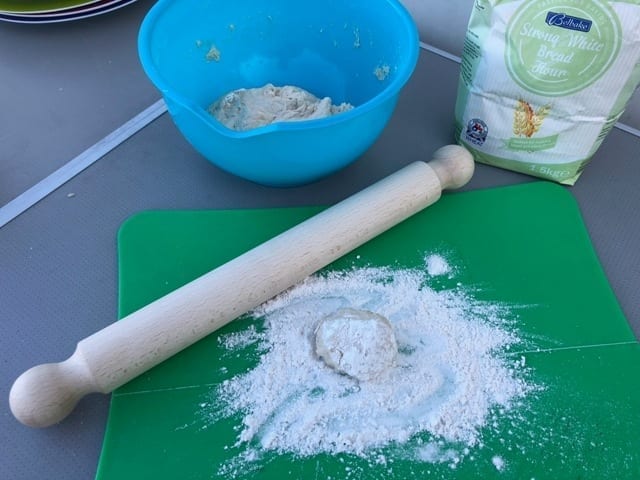
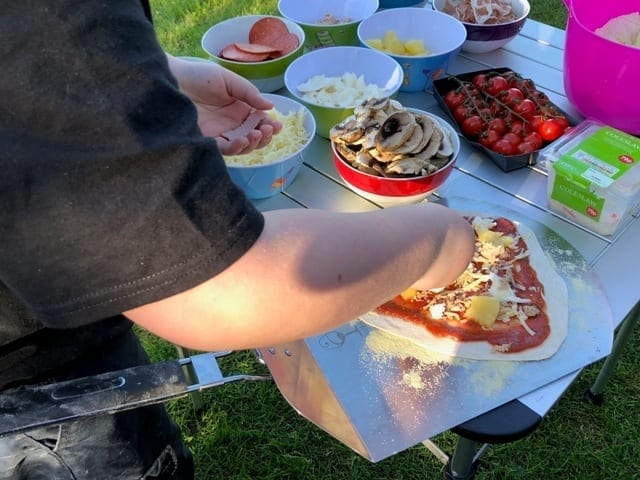
Carefully roll out the dough until it’s nice and thin (and fits on the paddle). Put a good amount of semolina on the pizza paddle, and then place the dough base on top. Three tablespoons of tomato sauce base usually suffice. At this point you hand the task over to the children to ‘build their own pizza’. At least this way they only add what they want to eat – so there’s never any waste. The key here is to not overload, and to not pile it all up in the middle.
Cooking the Pizza
Once finished loading it’s time to slide from the paddle on to the pizza stone. The temperature of the stone is around 300 degrees (so an adults job). Keep the lid on the BBQ during cooking.
After about 2-3 minutes (maximum), lift the lid to check. If the cheese is bubbling and the edges browned, it’s ready to eat. Carefully slide the paddle under the pizza and lift off and onto a plate. Then you start the process all over again!
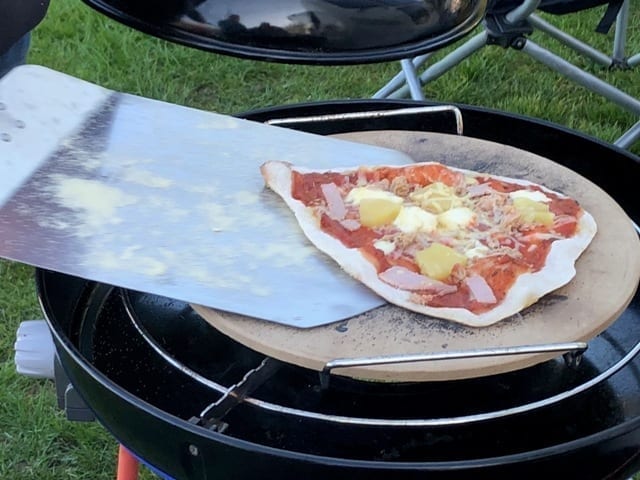
What we love about cooking pizzas while camping is that we’re all hands on. Everything happens outside, and we sit outside eating, drinking, making more pizzas (it is a bit of a conveyor belt, so important to make it fun).
Who thought you could make artisan pizza on a camping BBQ? And to top that – they taste AMAZING!





What a fun idea, I love it. Will definitely be doing this. Looks so tasty ? thanks for the great idea.